Why Seeing Your Photo First Changes Everything

There’s a moment—just before the shutter clicks—that often determines everything.
It’s quiet.
It’s quick.
And most photographers rush right past it.
They lift the camera, react, adjust a few settings, and hope the result matches what they felt when they first saw the scene.
But the photographers who consistently create images that stop people mid-scroll…
They do something different.
They pause.
They see first.
And that simple shift—learning to see your image before you ever touch your camera—changes everything.
Why Seeing First Matters
Your camera is an incredibly powerful tool. But it has one limitation:
It can only capture what you tell it to.
If you don’t have a clear vision before you shoot, you end up guessing:
- Guessing your exposure
- Guessing your settings
- Guessing your composition
And most of the time… guessing shows up in the final image.
But when you see the image first, something changes:
- Your settings become intentional
- Your composition becomes purposeful
- Your results become repeatable
You stop reacting—and start creating.
The Simple Process to See Before You Shoot
This is a process you can use anywhere—whether you’re standing on the shores of Abraham Lake, walking the streets of Vancouver, or photographing someone you care about.
It’s not complicated.
But it does require intention.
Let’s walk through it.
Step 1 – What Drew You to the Scene?
Before you lift your camera, take a breath.
Ask yourself:
“What is it about this scene that made me stop?”
Was it:
- The light hitting a subject just right?
- The expression on someone’s face?
- The contrast between shadows and highlights?
- The story unfolding in front of you?
This is your anchor.
If you skip this step, you risk capturing everything… and saying nothing.
But when you identify what drew you in, you now know:
👉 What matters in the frame
👉 What doesn’t
Step 2 – Simplify Your Composition

Now that you know what matters…
It’s time to protect it.
Look at your scene and ask:
“What can I remove?”
This might mean:
- Changing your angle
- Moving your feet
- Zooming in or out
- Waiting for distractions to leave
Great photography is rarely about adding more.
It’s about removing everything that doesn’t serve the story.
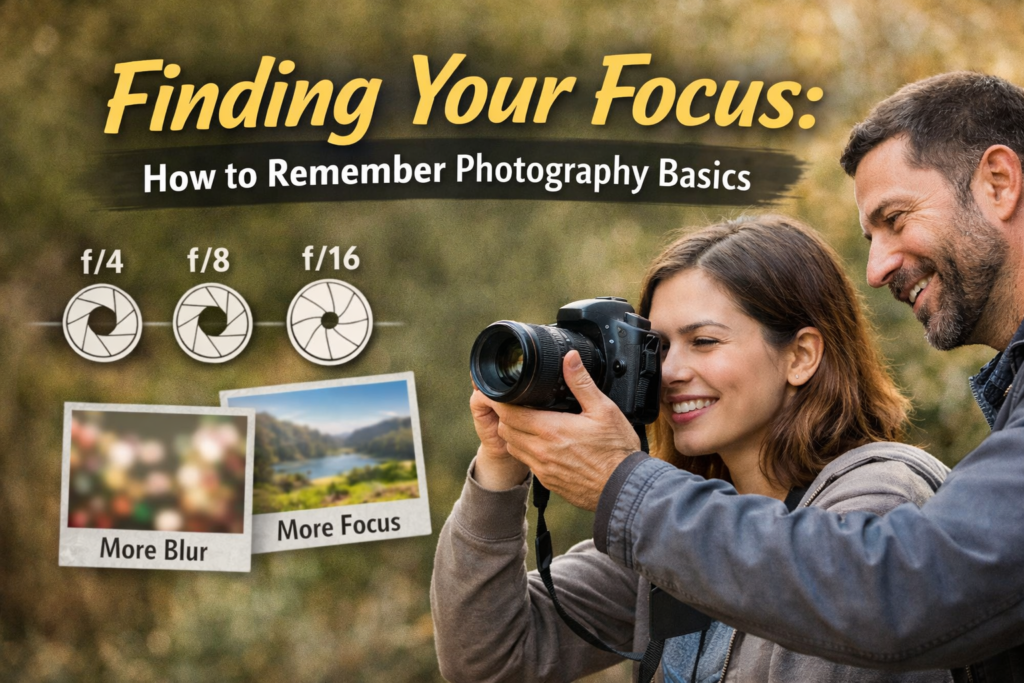
This step directly impacts your settings:
- Want to isolate your subject? → Use a wide aperture (low f-number)
- Want everything sharp? → Use a narrower aperture (higher f-number)
You’re no longer guessing settings—you’re choosing them on purpose.
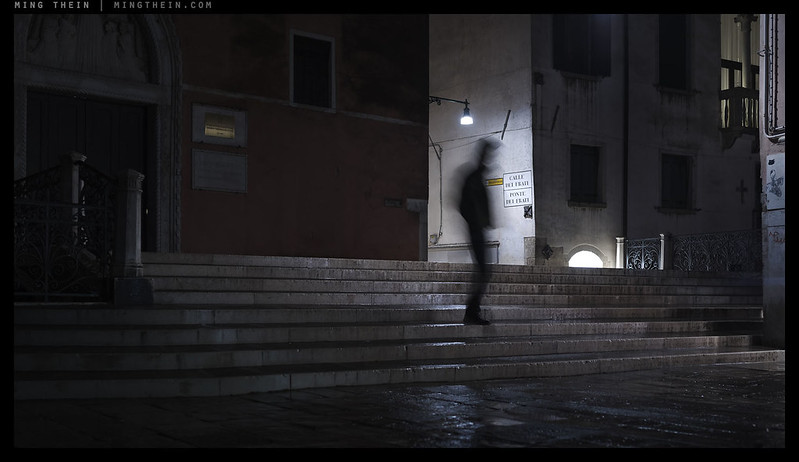
Step 3 – Decide the Feeling of the Image
This is where your photography starts to come alive.
Ask yourself:
“What do I want someone to feel when they see this?”
- Calm and peaceful?
- Dramatic and powerful?
- Bright and joyful?
- Dark and moody?
Your answer here guides your technical choices:
Shutter Speed
- Fast → freezes action, crisp, energetic
- Slow → motion blur, flow, softness
Exposure
- Bright → airy, uplifting
- Dark → moody, emotional
White Balance
- Warm → inviting, nostalgic
- Cool → distant, dramatic
When you decide the feeling first, your camera settings become tools—not obstacles.
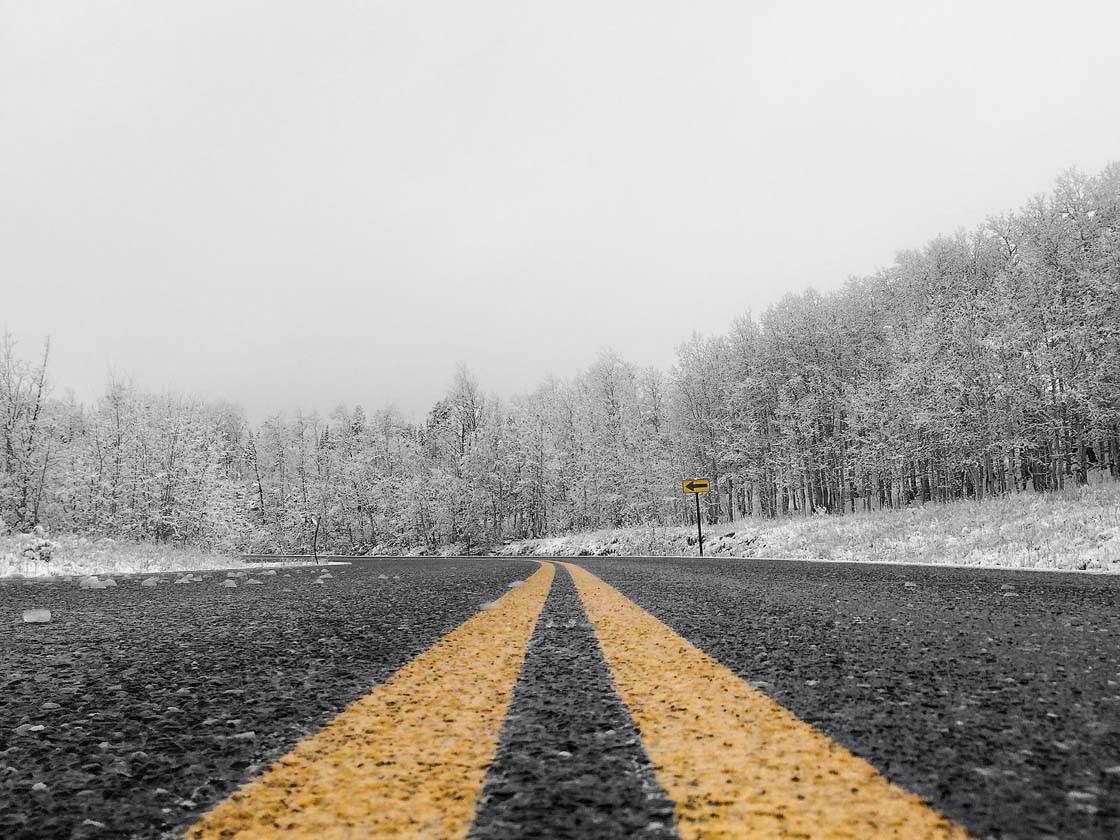
Step 4 – Choose Your Perspective
One of the most overlooked truths in photography:
Your position changes everything.
Before you shoot, experiment without your camera:
- Take a step left
- Get lower
- Climb higher
- Move closer
Ask:
“Where does this image feel strongest?”
This affects:
- Composition
- Background
- Light direction
- Depth
Often, the difference between an average image and a powerful one is just a few steps.
Step 5 – Match Camera Settings to Your Vision
Now—and only now—do you bring the camera up.
Because now you know:
- What matters
- What to remove
- What feeling you want
- Where to stand
At this point, your settings become clear decisions:
Aperture (f-stop)
- Control depth of field based on your subject and background
Shutter Speed
- Control motion based on your desired feeling
ISO
- Support your exposure without sacrificing image quality
Instead of asking:
👉 “What settings should I use?”
You’re now asking:
👉 “What settings bring this vision to life?”
That’s a completely different level of photography.
Step 6 – Shoot, Review, Refine
Take your first photo.
But don’t stop there.
Look at it and ask:
- Did it match what I saw in my mind?
- If not—what needs to change?
Then adjust:
- Composition
- Exposure
- Timing
Photography is a conversation between what you see and what you create.
And every shot is feedback.
Speaking of Feedback: Our Monthly Live Online Constructive Critique Sessions are free and a great way to get feedback on your images. Check Events on our Facebook Page to see the date for the next one.
A Simple 6-Step Checklist You Can Use Anywhere
This is a process you can use anywhere—whether you’re standing on the shores of Abraham Lake, walking the streets of Vancouver, or photographing someone you care about.
It’s not complicated.
But it does require intention.
Let’s walk through it.
- What drew me here?
- What can I remove?
- What should it feel like?
- Where should I stand?
- What settings match?
- Shoot and refine
How Seeing First Helps You Master Your Camera Faster
Your camera is an incredibly powerful tool. But it has one limitation:
It can only capture what you tell it to.
If you don’t have a clear vision before you shoot, you end up guessing:
- Guessing your exposure
- Guessing your settings
- Guessing your composition
And most of the time… guessing shows up in the final image.
But when you see the image first, something changes:
- Your settings become intentional
- Your composition becomes purposeful
- Your results become repeatable
You stop reacting—and start creating.
Final Thoughts: The Pause That Changes Everything
I remember being out shooting years ago—camera in hand, chasing the light, trying to keep up with the moment.
And I missed more shots than I care to admit.
Not because I didn’t know my camera…
But because I hadn’t slowed down long enough to see.
The shift didn’t happen overnight.
But as I began to pause—even for just a few seconds before each shot—I noticed something:
My images started to look more like what I had felt in the moment.
And that’s really what we’re after.
Not just technically correct photos…
But images that carry something with them.
So next time you’re out with your camera, try this:
Wait.
Look.
See.
And only then…
Take the shot.
Final Thought: if you want to see better, take part in a community.. when we partner with others they can see what we don’t they’ll help expand what we see. Its a win win. At Learn Photography Canada, we have an amazing Alumni community on Facebook which you automatically qualify for after taking your first workshop with us. My Motto: Personal Excellence in Anything is Best Developed in Community! Have a great day – David