Great tips for Photographing Christmas Lights!
“Tis the season for amazing Christmas light displays! From decorative houses in your neighbourhood, to local light displays cities are in full swing of amazing light displays. Now is the time to get out there and enjoy taking photos of some of these spectacular works of art. Here are a few tips to help out!
- Pick the right time of day. Surprisingly, the middle of the night might not be the best time to get out there and take some gorgeous Christmas light photos – particularly when you’re taking photos of house displays. If it’s too dark you risk losing any context of where the photograph is taken and it will look like a lights floating on a sea of black. Try heading out in sunset where there is a better balance of lights and ambient light to help you illuminate the house the lights are on.
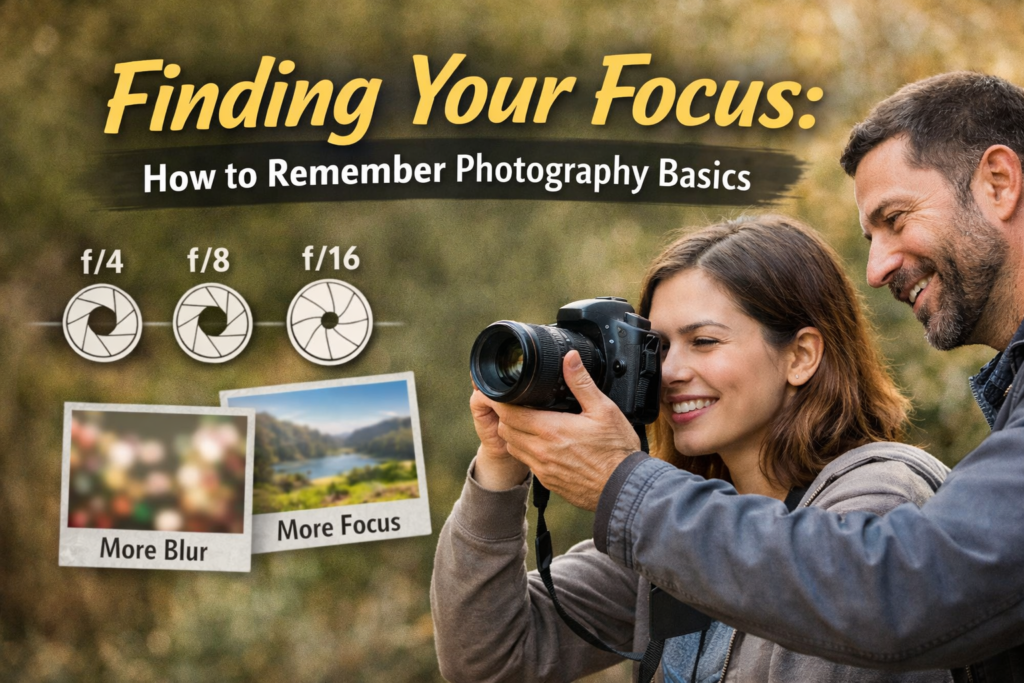
- Keep a low f.stop. This is two reasons. First off, having a low f.stop opens your aperture and lets in more light. So you’ll need less ISO (see point 3). But secondly, with a little imagination, a low f.stop can really help you capture some spectacular bokeh (depth of field) effects (see point 4).
- Use your ISO wisely. Remember too much ISO makes your photographs grainy, not enough, and your photos might be blurry. Try experimenting with your ISO – use a tripod if you can (and set your ISO to 100), or try and keep your ISO to less than 800. Remember lower is better as long as it’s clear!
- Zoom in. Some of the best lights photographs are those you taken when you zoom in. Why? You get better depth of field, and you can play with different compositions. Zoom in how much you ask? Well – you’re shooting digital, so be extreme – if it doesn’t work out you can always delete!
- If possible, try working in Manual Mode. Lights are funny – they’re bright, but you’re shooting at night, so everything else is dark. This is a difficult spot for your camera to adjust to, and you may find that in Aperture Priority you’re getting some funky light balance – too bright or too dark. You could try meddling with your metering modes, but really, just pop it in Manual and fine tune from there.
- Try working with a subject in front of your lights. Taking photographs of people in front of lights can result in some super pretty effects. If you’re shooting at night, try not to use your flash where possible – if you can create a different ambient light source to illuminate the subject that’s always a better choice (think like a couple of house lamps).
- Have fun with it! Try experimenting with zooming in and out while your camera is exposing, or try adding cutouts to your lenses for different shaped bokeh (check out next week’s post for how to do this!).
Now let’s get to it! Share your other great tips, and your gorgeous photos with us in the comments below!
Want to learn more about photographing at night? Check out our Night Photography course! Available in all of our fantastic cities.

Want to sign up to receive our 5 Minute Photo Fix? Subscribe to our mailing list: