Creating Time-Lapses
Time lapses are a super fun way to show the progression of an event using photography (with a teeny bit of video editing). They are unique, interesting to watch, and really fun to put together, and we’re all about fun here. So we’ve put together a really simple step-by-step guide to creating your very own time lapse or stop motion video!
Keep in mind that these steps are for a really simple stop motion or time lapse video – once you’ve mastered these you can start getting more creative!
Read up, give it a try and share your results with us!
Step 1: Set your camera up on a tripod
This means that as time progresses you’re giving viewers the same perspective. So in this example of the storm moving through, it was essential to have the camera in the same place to give the viewer a sense of continuity.
Step 2: Set up your shot.
If your event is moving, make sure that you can see both the beginning and the end of the event in your frame – otherwise you’ll find you have to move your camera halfway through, potentially ruining the final result.
Also consider your exposure – you may wish to use manual mode if you’re photographing a weather event (for example) so that your exposure doesn’t change mid way through the image.
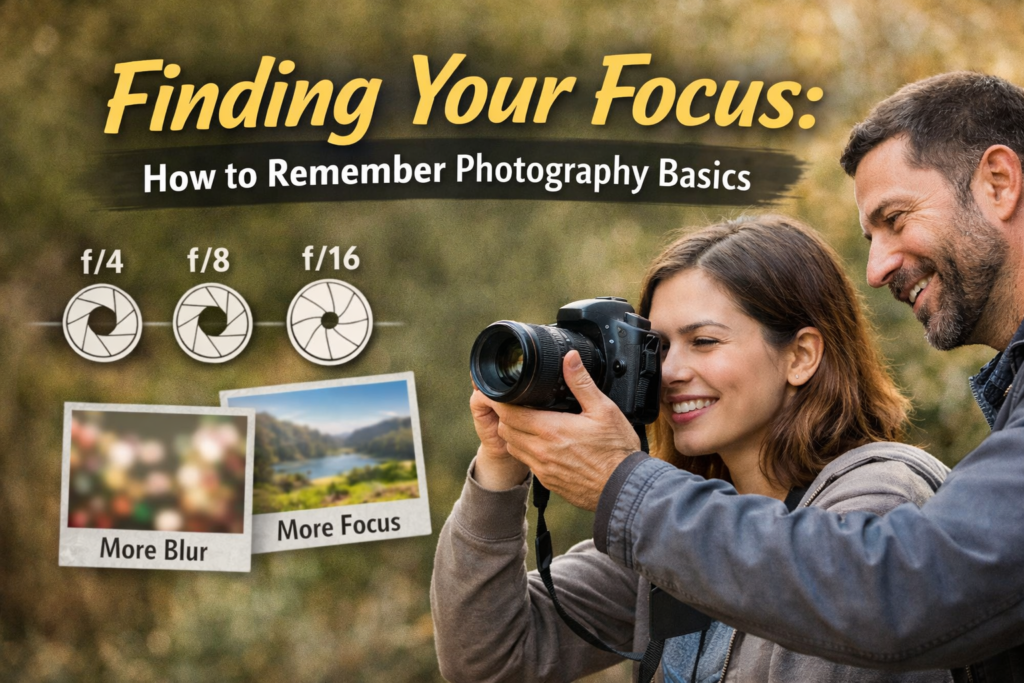
Don’t forget to choose the right Aperture for the job – generally you’ll be taking photographs of large subjects (like landscapes), so you’ll need a high f.stop to ensure everything is in focus.
And lastly, you’ll need to consider your focus. We recommend switching to Manual Focus to ensure that your camera doesn’t switch up its focus as your event changes.
Step 3: Pick your timeframe.
How long do you want to photograph this event for? Keep in mind that you’ll want to stick around either a) to ensure your camera equipment isn’t stolen or b) because you have to press the shutter for each exposure… So if you’re planning on taking a long time-lapse make sure you’re somewhere comfortable (and safe!).
Remember to choose how long AND how often. So you could say that you’ll take one photograph every 30 seconds for 30 minutes (this would give you 60 frames in total). Or you could do every 30 seconds for 60 minutes (which would give you 120 photos). If you’re not sure, start taking images 30 seconds apart and then just stop when you’ve had enough.
Step 4: Take your photos
This one is nice and self-explanatory :D.
Step 5: Download and create your mini-video.
We use iMovie (thanks Apple), and while it’s not the best video editing program out there (not by a long shot), it is super easy for beginner’s to use.
Not a fan, or don’t use Apple? That’s totally ok – a quick google search (try searching for “time lapse software”) will result in a great number of free, paid, online and download softwares that will help to make this process incredibly easy.
Step 6: Share it!
As your last step – make sure you’re sharing your time-lapse! They are really fun for people to watch and are very engaging – so post it and send it and share it as much as you can!
Now you have the basics all that’s left is to experiment and have fun! And don’t forget to share your results with us!